Most aspiring artists find that drawing a tulip is both enjoyable and rewarding, showcasing your creativity at its best. In this guide, you will learn step-by-step techniques to capture the graceful shape and vibrant colors of a tulip. With just a few materials and some simple instructions, you’ll be able to enhance your artistic skills and create beautiful floral art that can brighten up your space. Get ready to unleash your inner artist as you bring this lovely flower to life on paper!
Table of Contents
Key Takeaways:
- Basic Shapes: Begin by sketching simple shapes, such as ovals for the petals and a long triangle for the stem, to establish the structure.
- Petal Details: Add depth and texture to the petals by drawing curved lines and varying their widths for a more natural appearance.
- Color and Shading: Use vibrant colors for the petals and incorporate shading to create dimension and realism in your drawing.
Understanding the Basics of Tulip Drawing
Your journey to drawing a beautiful tulip begins with understanding its basic forms and shapes. Tulips are known for their elegant curvatures and simple structure, making them an excellent subject for beginners. By observing the important elements like the bulbous bloom and sturdy stem, you’ll develop a sense of proportion and depth. Pay attention to light and shadow, which will enhance your tulip’s three-dimensional appearance. Engaging with these fundamentals creates a solid foundation for your artistic expression and will lead to more lifelike tulips on your paper.
Choosing the Right Tools
The right tools can significantly impact the quality of your tulip drawing. Start with a good set of pencils, ranging from hard to soft, to achieve different shades and textures. Additionally, having quality paper is important; sketch paper will suffice, but smoother drawing paper can enhance your final artwork. Consider using erasers for refining your lines and a blending tool to create softer transitions. With these tools, you’ll have the resources needed to bring your tulip to life on the page.
Selecting Your Tulip Reference Image
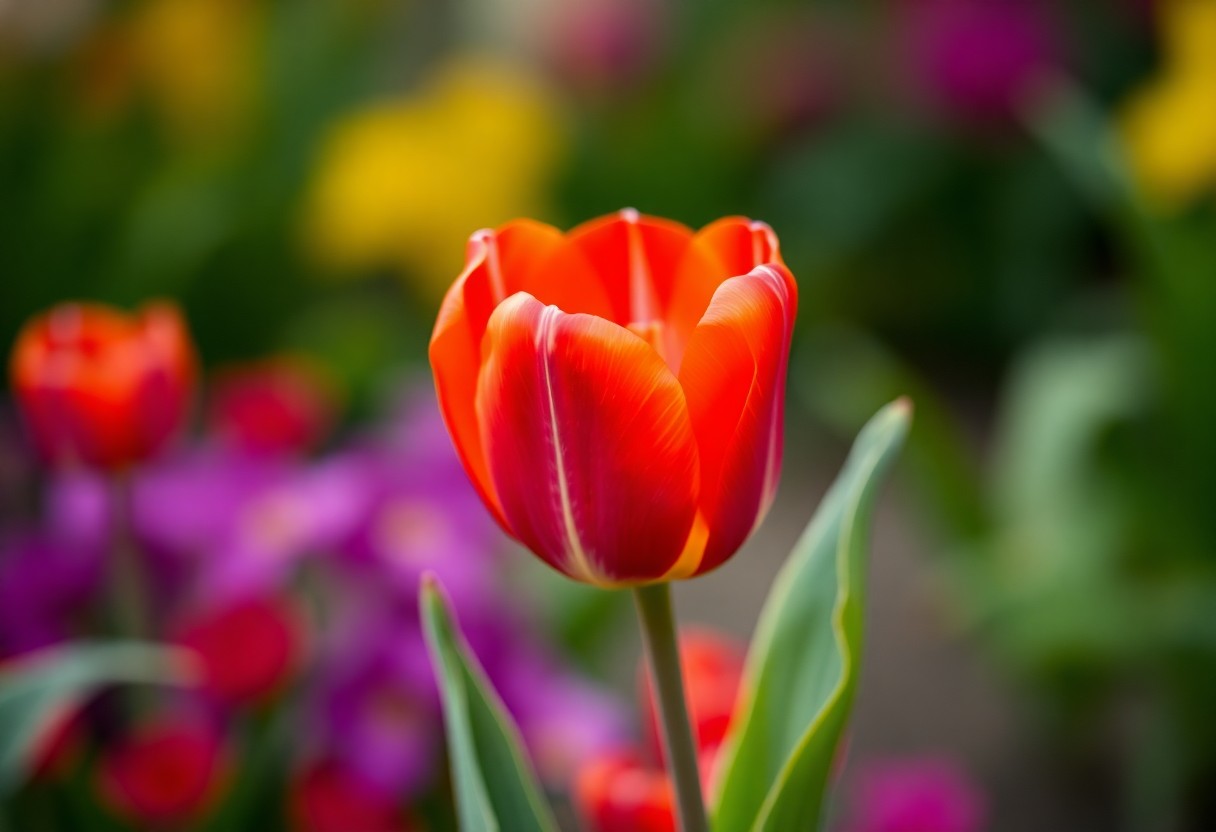
To create a realistic tulip drawing, selecting the right reference image is vital. Look for photographs that capture tulips in natural lighting, showcasing their vibrant colors and intricate details. Ensure that the image has a clear focus on the flower’s shape and structure, allowing you to study the elements you want to replicate. A well-composed reference will guide your drawing and inspire creativity.
Plus, choosing a reference with various angles will help you understand the tulip’s anatomy more thoroughly. A close-up image can reveal the petals’ delicate textures, while a photo of tulips in a garden can provide a sense of context and movement. Keep an eye out for vivid colors that inspire you, as this can influence not only your drawing style but also the mood of your finished piece. Having a comprehensive reference allows you to capture the true essence of tulips, resulting in a more engaging artwork.
Step-by-Step Drawing Process
If you want to draw a beautiful tulip, it’s necessary to follow these steps methodically. Below is a table outlining the key stages in the drawing process. Key Steps in Drawing a Tulip
| Step | Description |
| 1 | Outline the tulip shape |
| 2 | Add petals and leaves |
| 3 | Shade and detail |
Outlining the Tulip Shape
An important first step is to create a basic outline of the tulip shape. Start with a simple oval for the flower’s head and two lines that taper downwards for the stem. Ensure your shapes are smooth and balanced, setting a solid foundation for your drawing.
Adding Petals and Leaves
Process of adding petals and leaves involves carefully shaping them to replicate the natural forms. Begin with the outer petals, drawing them in a way that they slightly overlap, which adds depth. Then, sketch the elongated leaves at the base, ensuring they look vibrant and fresh.
For instance, while sketching the petals, focus on creating a slight wave or curve to make them look natural. Use light strokes initially, and don’t hesitate to adjust the shapes. Add details like veins on the leaves to enhance realism. The contrast between smooth petals and textured leaves will make your tulip stand out in the artwork. Aim for balance, ensuring your tulip looks both delicate and strong in its composition.
Techniques for Adding Depth
For creating a lifelike tulip, implementing depth in your drawing is necessary. This can be achieved through various techniques, including shading and color blending. Using these methods effectively will elevate your tulip from a simple outline to a stunning representation that captures the eye. Pay attention to light sources, shadows, and transitions between colors to give your artwork a three-dimensional appearance.
Shading for Realism
Depth in shading adds realism to your tulip drawing. Start by determining your light source, then use darker tones on the side opposite the light to create shadows. Layer your shades carefully, transitioning from light to dark, which will add volume and form to the petals. Don’t shy away from experimenting with different pencils or blends to achieve the desired effect.
Blending Colors Effectively
Depth in color blending enhances the vibrancy of your tulip. Proper blending allows for smooth transitions between shades, making your tulip appear more lifelike and dimensional.
For instance, you can achieve a beautiful gradient by layering multiple colors. Begin with a lighter base color and gradually add darker shades, using a blending tool or your fingers to smooth the transitions. Focus on areas where petals overlap or curve to emphasize depth. Consider using colored pencils, watercolors, or pastels, as they each offer different blending opportunities. Always maintain your strokes in the same direction as the petals for a natural look.
Tips for Enhancing Your Tulip Drawing
All artists can elevate their tulip drawings with a few strategic techniques. Consider these tips for improvement:
- Use a variety of colors to create depth.
- Incorporate shading for a more realistic appearance.
- Experiment with background elements to set the scene.
- Try different shapes and sizes for unique compositions.
Assume that these enhancements will take your tulip drawing to the next level.
Experimenting with Styles
Even if you have a favorite style, don’t hesitate to experiment with various artistic approaches. This exploration can lead to discovering unique interpretations of tulips that reflect your personal flair.
Common Mistakes to Avoid
Your tulip drawings may suffer if you make common mistakes. A frequent error is relying too heavily on outline without incorporating enough color and shading. This can lead to flat and lifeless representations.
Plus, be wary of overemphasizing the details at the expense of the overall composition. A well-balanced tulip drawing requires a mix of clear contours and soft blending to achieve a harmonious look. Don’t forget to observe real tulips closely; this can help you avoid stylistic errors and enhance the rendition of their stunning forms.
Factors Influencing Your Tulip Art
Unlike other flowers, your tulip art can be affected by various factors that enhance its appearance. Consider these elements:
- Your choice of medium
- The lighting conditions
- The environmental influences
- Your personal style
- The different types of tulips you select
Each plays a role in your final masterpiece. Perceiving how these factors interact will help you create more striking tulip art.
Understanding Color Theory
While plunging into color theory is important for perfecting your tulip art, knowing how to mix and contrast colors will bring your drawings to life. You can utilize the color wheel to identify complementary and analogous colors, enhancing the vibrancy of your tulips. Being aware of how different hues can influence emotion in your art can lead to more meaningful and profound creations.
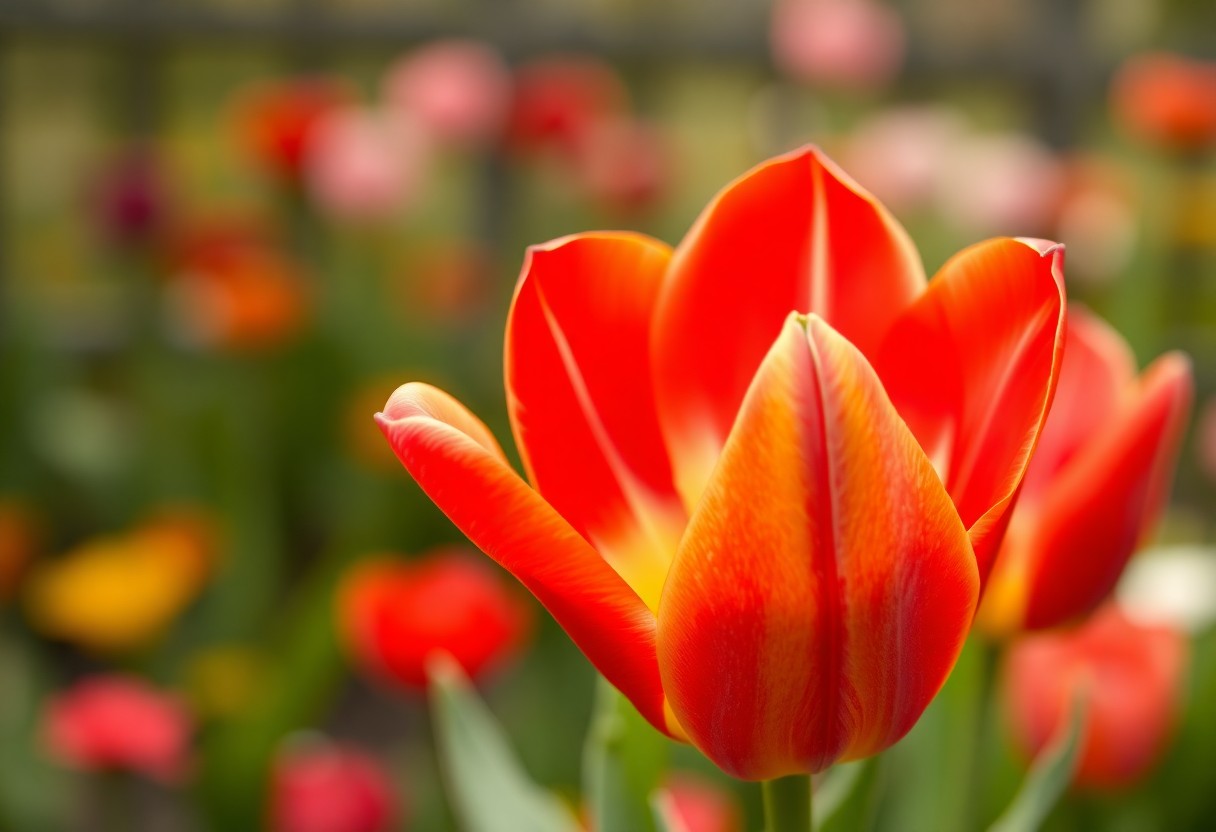
Observing Natural Tulip Growth
An effective way to improve your tulip drawings is by observing natural tulip growth. Analyzing how tulips develop through seasons allows you to capture their essence authentically.
Observing tulip growth in their natural habitat is an invaluable experience. Pay attention to their full life cycle, from budding to blooming stages. The way tulips unfurl their petals or their response to weather conditions can unveil intricate details you might otherwise miss. Additionally, noting the interaction of light and shadow on tulip petals will help you understand depth, enriching your artwork. Embrace these observations to create a more genuine and evocative representation of tulips in your art.
Finishing Touches
After perfecting your tulip drawing, it’s time for the finishing touches. Assess your work for any areas that need enhancement—this could be adding more color, refining the shapes, or incorporating shadows for a three-dimensional effect. Small details can elevate your drawing significantly, so don’t hesitate to make those minor adjustments. Once you are satisfied with how it looks, you can move on to preserving your masterpiece.
Finalizing Your Drawing
Now that you have added all the necessary details, take a step back and evaluate your drawing as a whole. Consider making any final adjustments to balance the composition and ensure that all elements flow harmoniously together. This is a great time to highlight your shading and contours, making your tulip feel alive and vibrant. Your unique artistic touch will set your work apart.
Preserving Your Artwork
Some practical steps can help ensure your tulip drawing lasts for years. First, consider using a fixative spray designed for drawings to prevent smudging. Store your artwork flat in a protective sleeve away from direct sunlight and moisture. If framing, choose UV-filter glass to shield against fading while allowing you to display your work proudly.
Preserving your artwork is vital to maintaining its beauty and integrity over time. Using a fixative spray can create a protective layer, preventing accidental smudges and wear. Storing your drawing in a flat position also helps avoid creasing or warping. Additionally, framing your piece behind UV-filter glass will protect it from fading due to light exposure while adding an elegant touch to your decor. These steps will ensure that your tulip drawing remains as stunning as the day you finished it.
To wrap up
The process of drawing a tulip can be both enjoyable and rewarding, allowing you to express your creativity. As you follow the steps outlined, you will see improvements in your technique and style. Make sure to practice and experiment with various colors to bring your tulip to life. For a comprehensive guide, you can visit How to draw a tulip (easy step-by-step) 🌷. With each stroke, you’ll deepen your understanding of floral sketches and enhance your artistic skills.
FAQ
Q: What materials do I need to draw a tulip?
A: To draw a tulip, you will need some basic materials. Begin with high-quality drawing paper and a set of pencils ranging from HB to 6B for different shading options. Additionally, you might want to have colored pencils or markers to add vibrancy to your drawing. An eraser will also be helpful for correcting any mistakes, and a ruler can be used for drawing straight lines if needed. Optionally, you can use reference images of tulips to guide your drawing process.
Q: What are the basic steps to draw a tulip?
A: To draw a tulip, start by sketching the shape of the flower. Begin with a simple oval to represent the bloom’s outline, and add two or three curved lines at the top to form the petals. Next, draw a cup shape underneath to create the flower’s base. After that, sketch the stem by drawing two parallel lines extending downward from the flower. Finally, add leaves by drawing elongated shapes on either side of the stem, and refine the details of the flower and leaves as needed. Once you’re satisfied with the outline, proceed to shade or color your tulip for a more realistic effect.
Q: How can I make my tulip drawing look more realistic?
A: To enhance the realism of your tulip drawing, focus on the details such as shading and texture. Observe how light interacts with the petals and add darker shades where shadows appear, typically at the base of the petals and along the edges. Use lighter shades to highlight areas where light hits the flower. Additionally, pay attention to the texture of the petals – tulips often have a smooth appearance, so apply your coloring with a light hand for a soft finish. Lastly, incorporating details like veins on the petals and subtle variations in color will add depth and realism to your drawing.